Grzegorz "gsmok" Makarewicz,
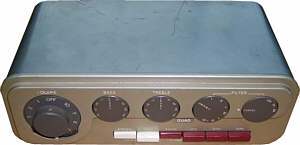
QUAD 22 preamp was designed to work with one (mono system) or two (stereo system) QUAD II amps. Its features, in particular, interchangeable external modules predestined it to act as an audio system control device. This has been reflected in the name of the device, which identifies them not as a typical preamp but the control unit (full, original name is "The Quad 22 Control Unit." Due to the fact that even the manual is common for QUAD 22 Control Unit and QUAD II amplifier, photographic presentation begins with a few shots of full audio system designed for stereo reproduction.
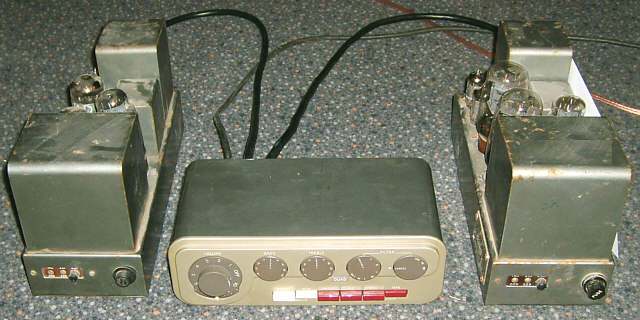
Fig. 1.
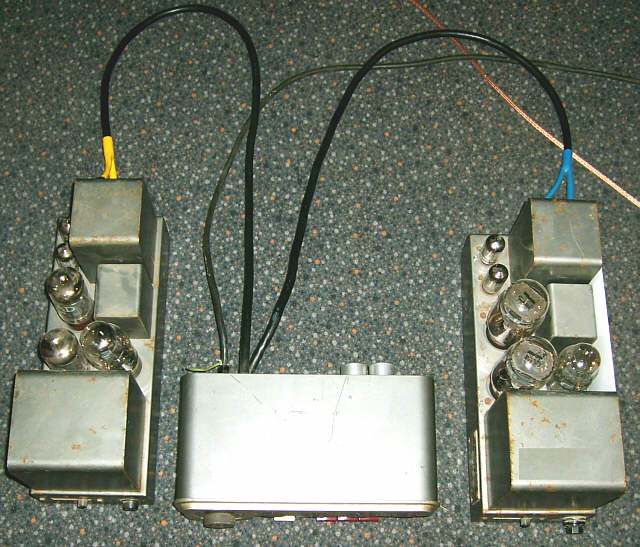
Fig. 2.
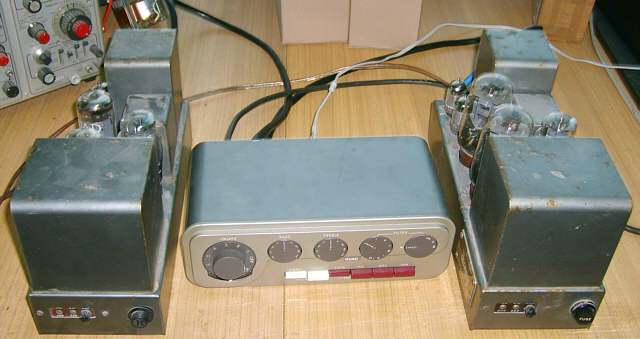
Fig. 3.
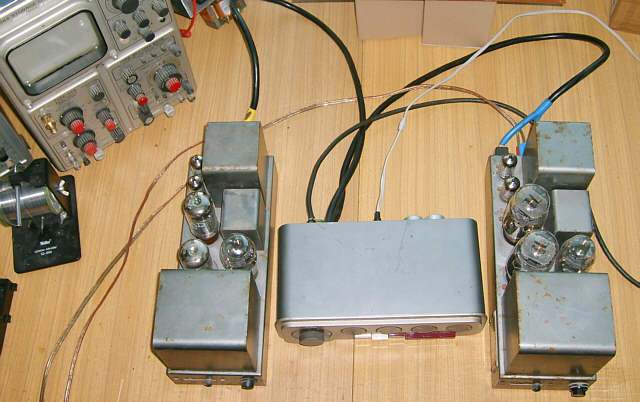
Fig. 4.
After a few photographs of the entire audio system, the following figures shows the "hero" of the description - "The Quad 22 Control Unit".
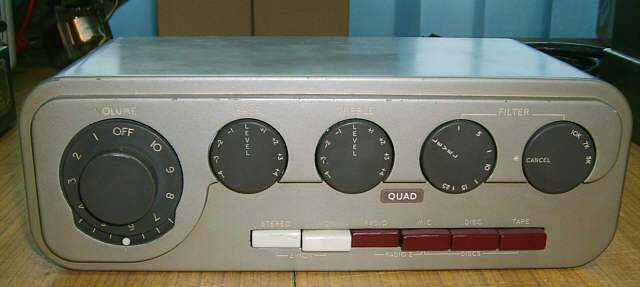
Fig. 5.
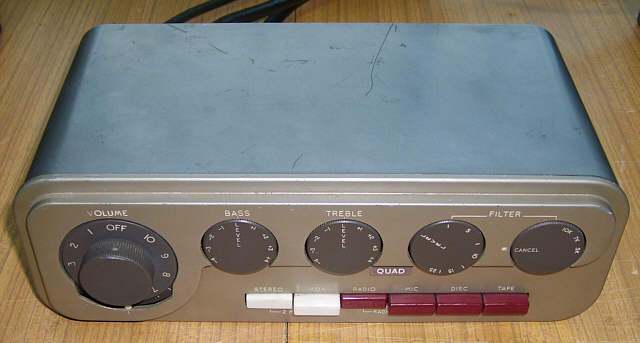
Fig. 6.
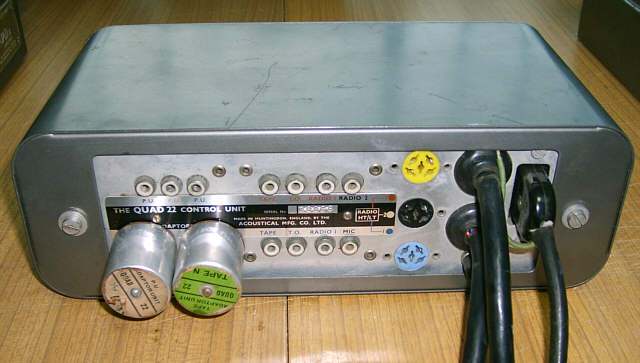
Fig. 7.
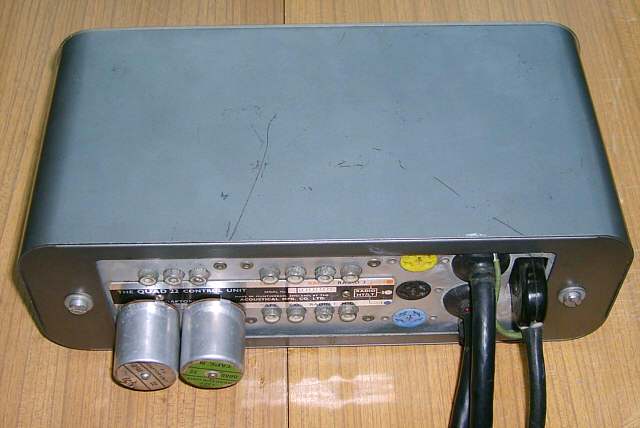
Fig. 8.
Now some photos of "dressed" power amplifiers and "undressed" preamplifier.
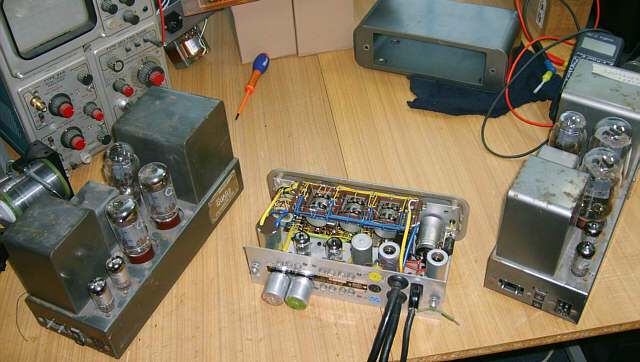
Fig. 9.
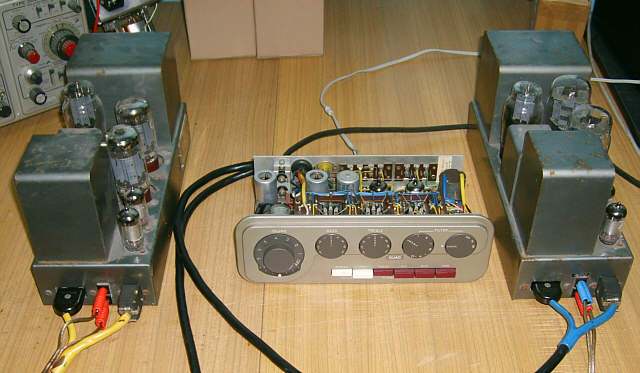
Fig. 10.
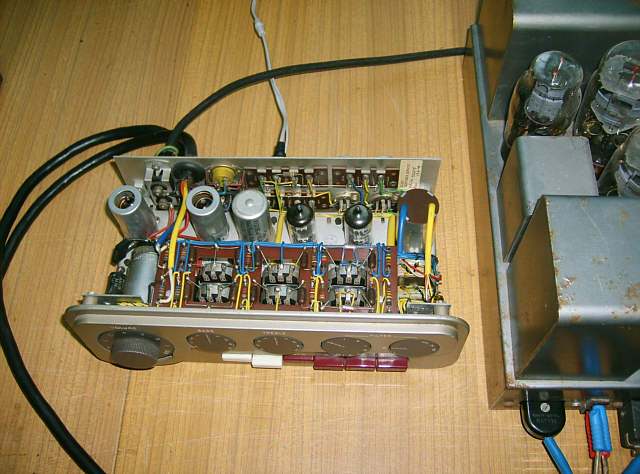
Fig. 11.
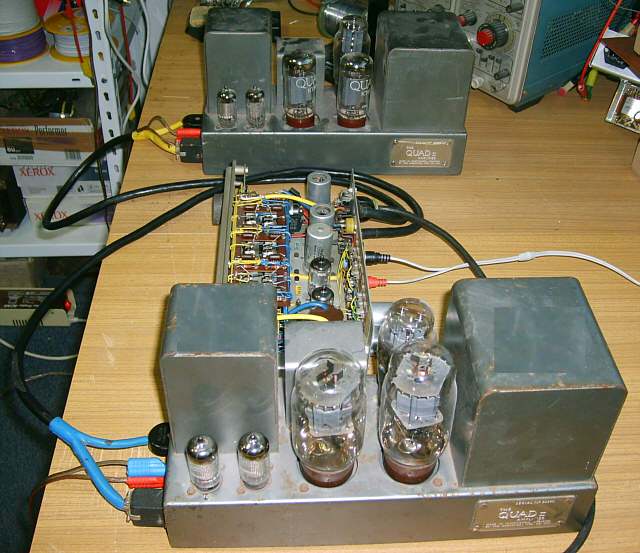
Fig. 12.
At this point, we say thanks to power amps, and here are the first details of the interior of the preamp. View from the top.
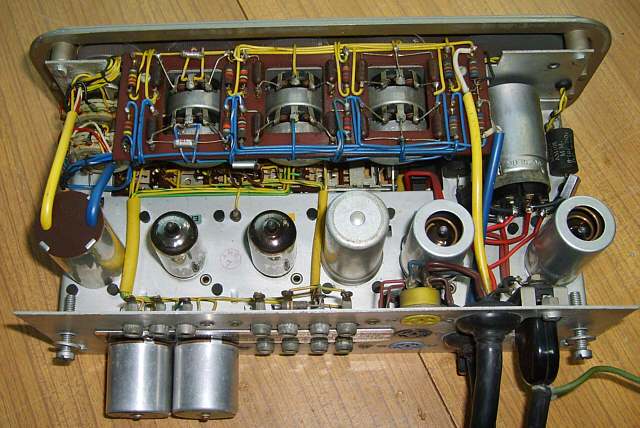
Fig. 13.
And so here is the manual attached to the equipment. Really a tear in the eye turns. It's beautiful.

Fig. 14.
Below is a basic diagram of the preamplifier. It does not contain an externally attached modules. Diagram can be enlarged by clicking on it with your mouse.
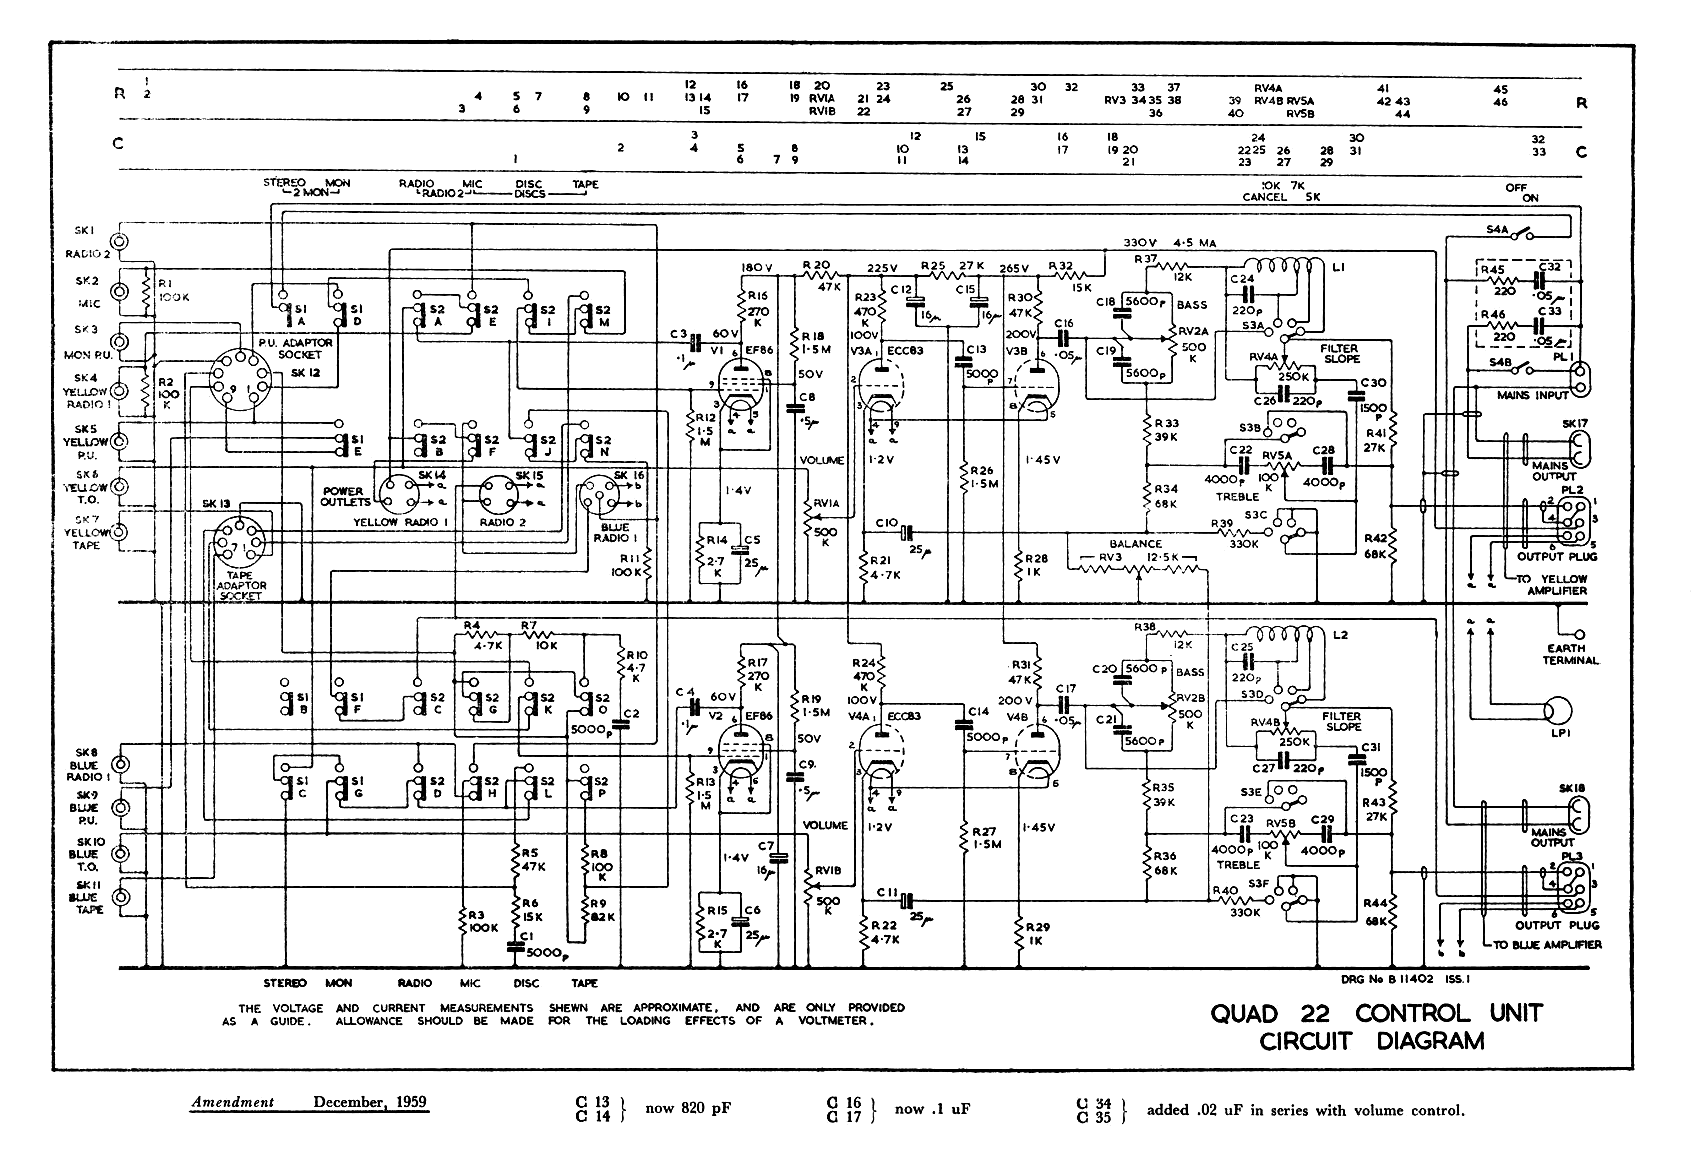
Fig. 15.
For the more curious I put drawings of the location of the elements connecting with the circuit diagram. They come with instruction manual. The figures can be opened in the form of an enlarged and thus more legible pictures.

Fig. 16.

Fig. 17.

Fig. 18.
There were drawings of the interior from the manual. Now it's time to study the details of the real device.
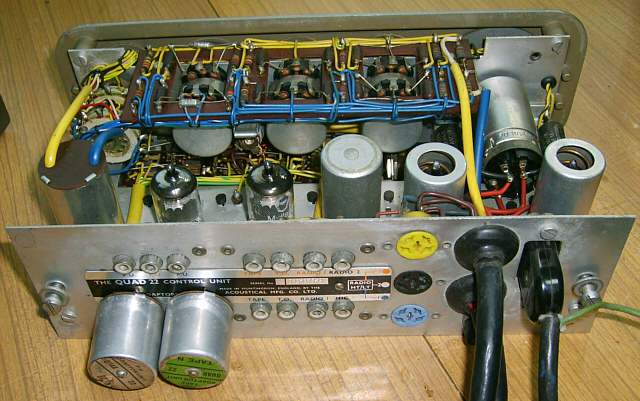
Fig. 19.

Fig. 20.
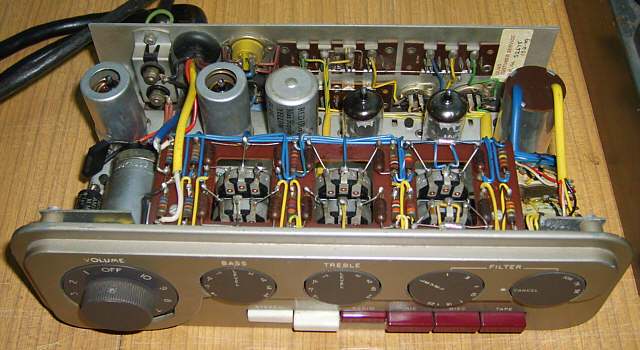
Fig. 21.
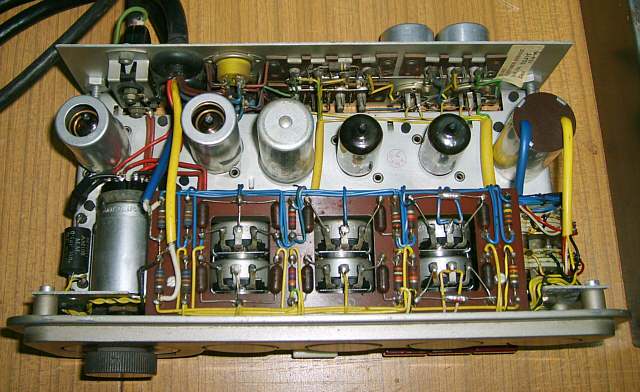
Fig. 22.
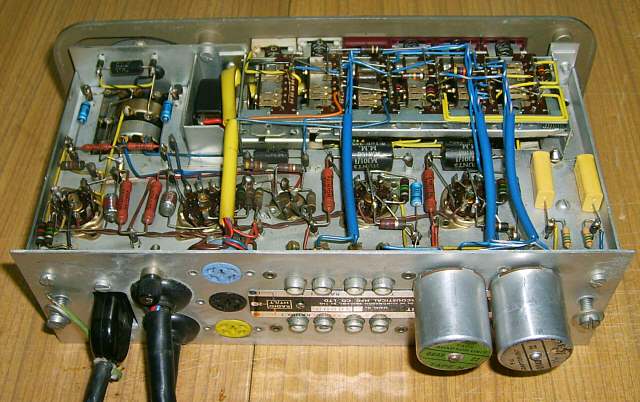
Fig. 23.
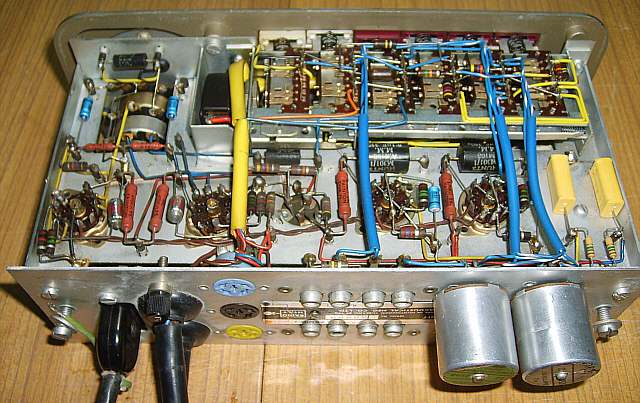
Fig. 24.
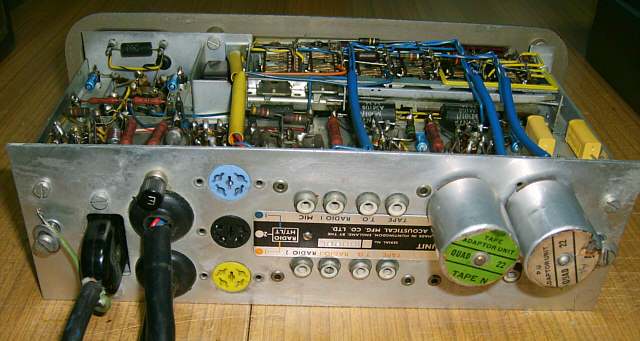
Fig. 25.
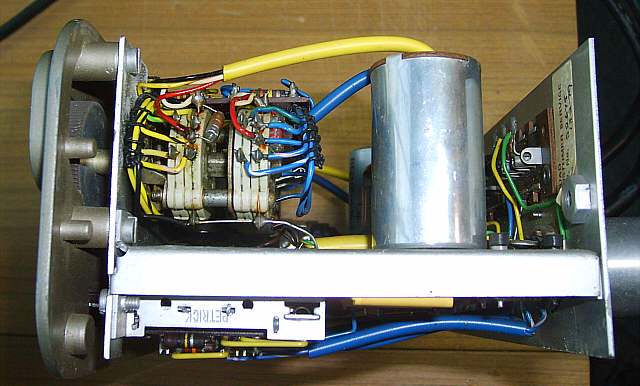
Fig. 26.

Fig. 27.
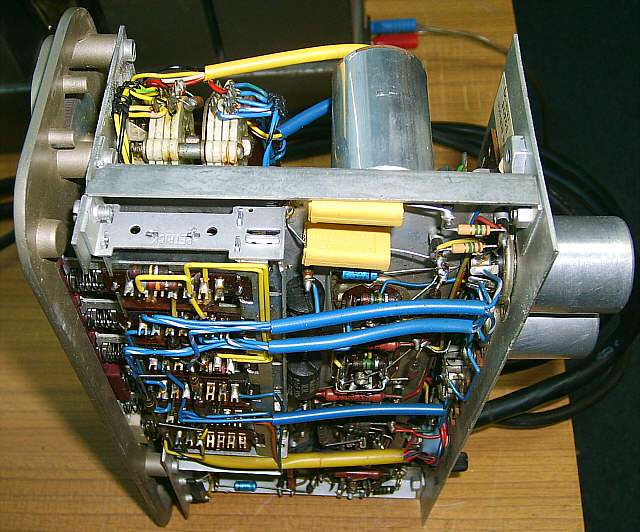
Fig. 28.
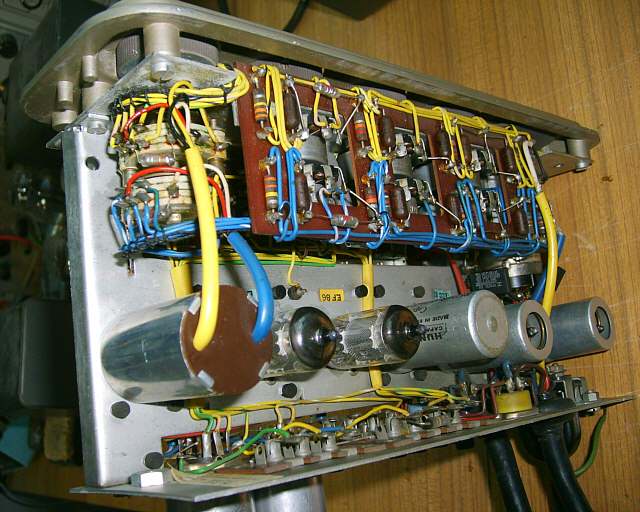
Fig. 29.
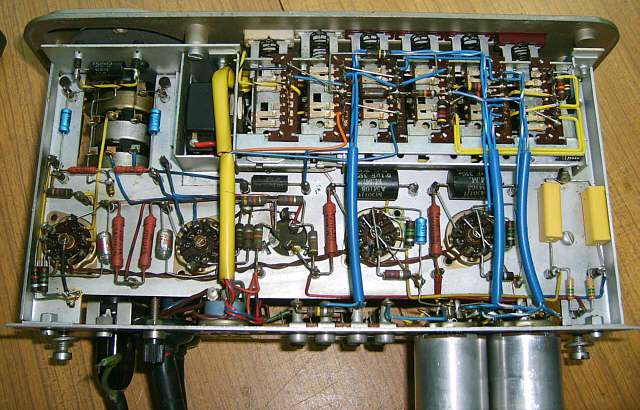
Fig. 30.
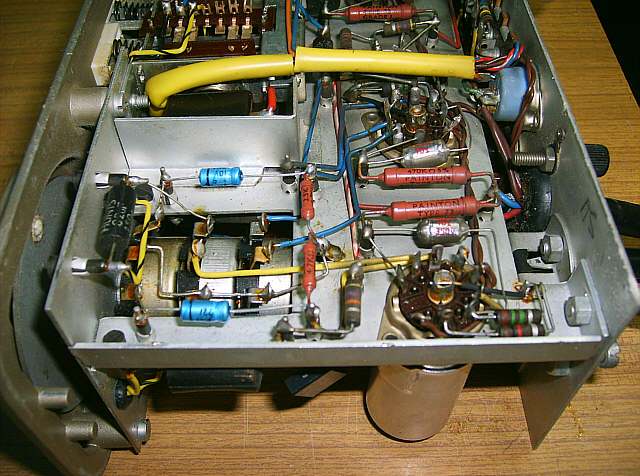
Fig. 31.
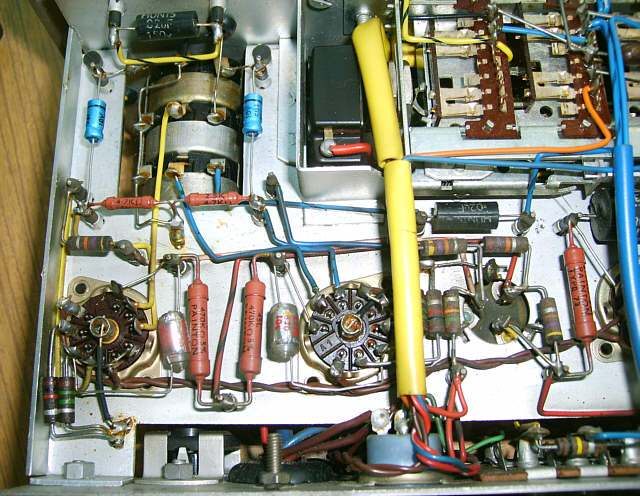
Fig. 32.
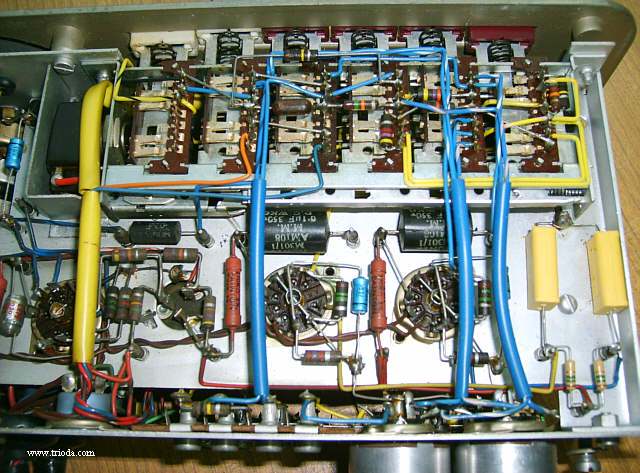
Fig. 33.
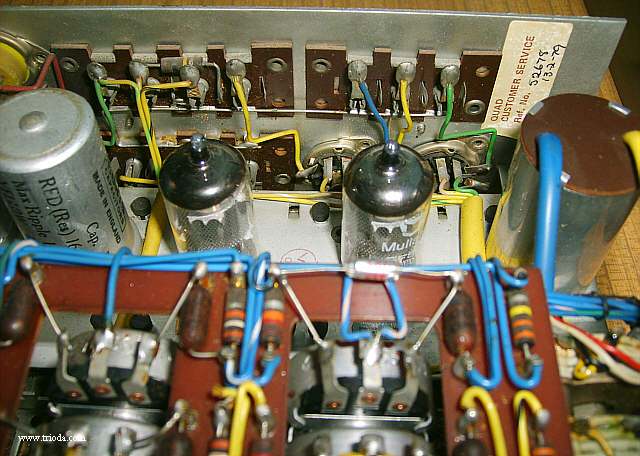
Fig. 34.
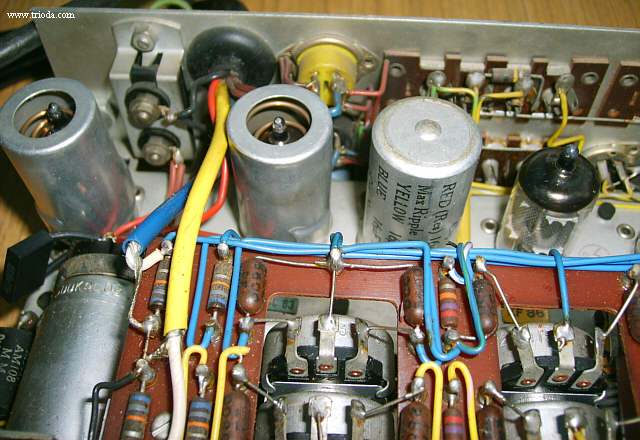
Fig. 35.
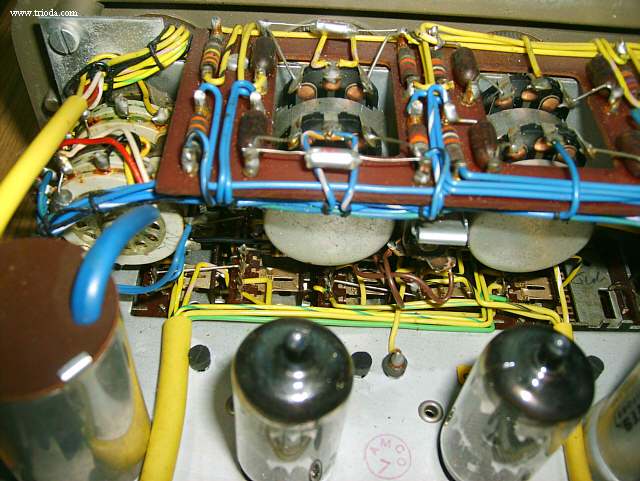
Fig. 36.
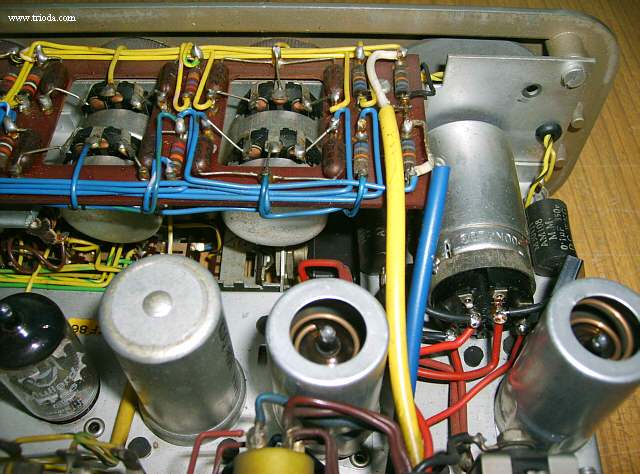
Fig. 37.

Fig. 38.
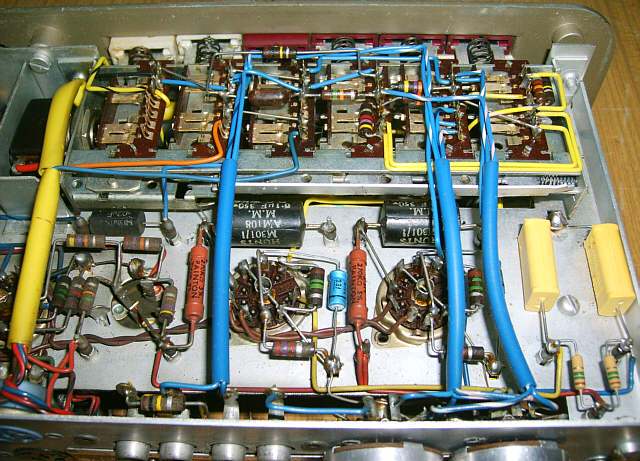
Fig. 39.
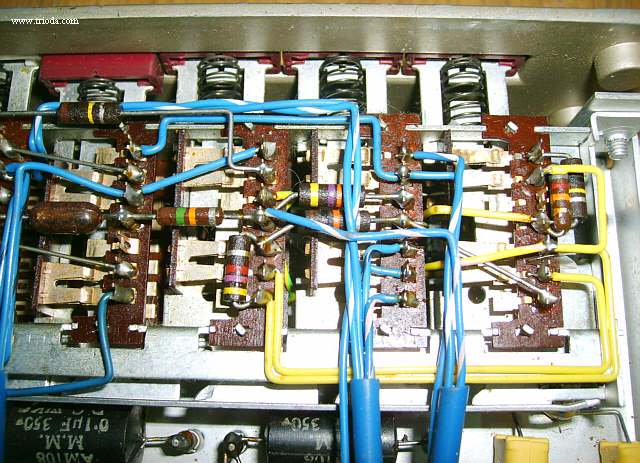
Fig. 40.
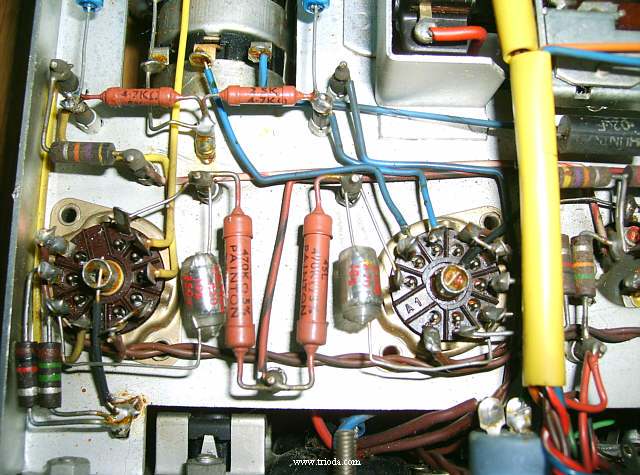
Fig. 41.
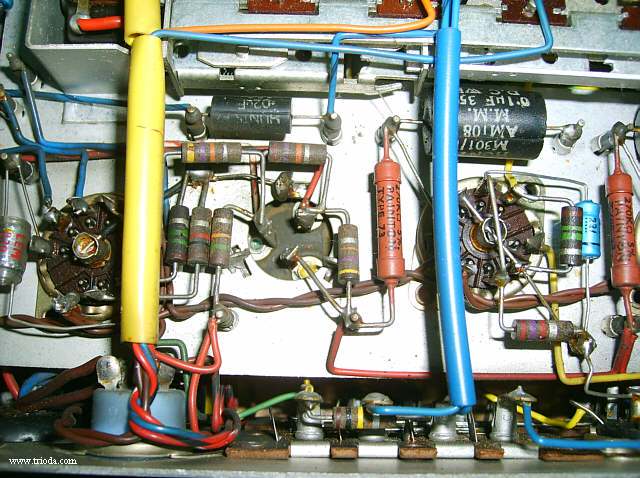
Fig. 42.
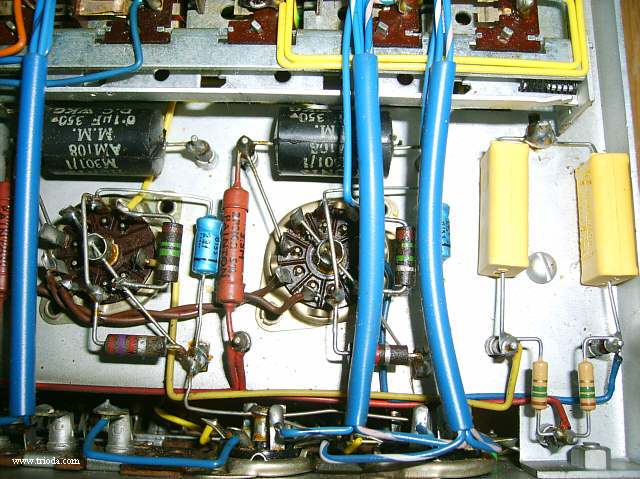
Fig. 43.
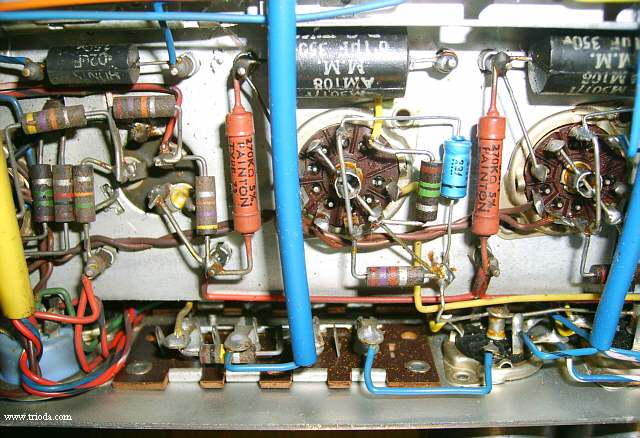
Fig. 44.
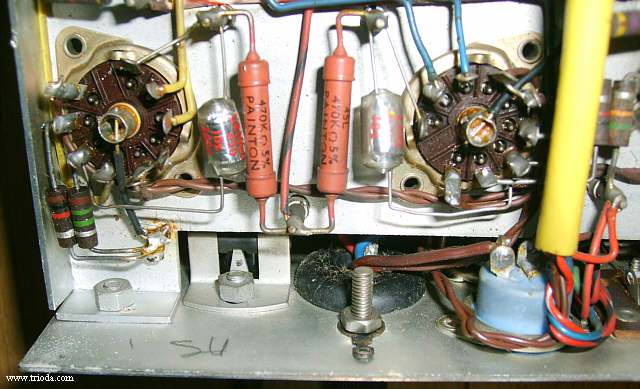
Fig. 45.

Fig. 46.
Written by Grzegorz "gsmok" Makarewicz, www.trioda.com
")
")
")
")
")